Not only prized for their edible yields, globe artichokes are also attractive, ornamental plants, that can add stature and drama to a vegetable plot or to another part of a garden.
Growing a globe artichoke plant (Cynara scolymus) may be a slow process but it is one of the most rewarding things you can tend for in your garden.
It’s a large hardy perennial which gives a high-profile impact in the garden as well as a delicious harvest of colossal, edible flowers. As one of the oldest recorded foods in history, globe artichokes have been a stable addition to Mediterranean diets for centuries.
Although they are both called artichokes, Jerusalem and globe artichokes are completely different – both in how they grow and how they’re used in the kitchen. But both are perennial plants, easy to grow – and delicious to eat.
In order to grow globe artichokes successfully, you first need to know what conditions they need. To thrive, they will need:
- Full sun.
- A sheltered location with as much warmth over summer as possible.
- Plenty of space – clumps can grow 90cm across over time.
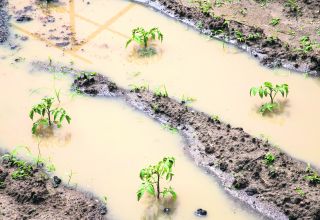
- Reasonably fertile, free-draining soil.
Sowing seeds
Sow artichoke seeds indoors in late winter or early spring, or direct in spring once the soil has warmed where you live. Sowing indoors is generally the better option because direct sown seeds are vulnerable to pests and may struggle to germinate when temperatures are too low.
If you sow globe artichokes inside, your plants are also more likely to become properly established and make it through the following winter unscathed.
Indoors, sow individual seeds into small pots or other containers, or soil blocks, around 1cm deep. If you choose to direct sow, place a couple of seeds at stations approximately 25-30cm apart, then thin these out to leave just the strongest seedling where necessary.
Planting
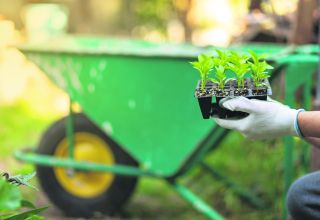
If you have grown globe artichokes from seed, the young plants can be moved to their final growing positions after the last frost date in your area, once they are around 30cm tall and have at least five true leaves.
These, small plug plants, and larger container grown plants you have purchased should all be given plenty of space – as a rule, they should be around 90cm apart to give them space to grow.
If you have purchased small plug plants or very young potted plants, these are best kept in the container in which they came until they have around five leaves and a sturdy root system.
Larger plants can be planted out at any time, but are also best planted out in the spring or early summer when the weather is not too warm and dry.
Watering
Make sure you water artichokes well until they become established, especially during their first growing season. Before they develop strong and healthy root systems, they will not be as drought tolerant as they are once established.
Even once established, however, globe artichokes will need some water, and watering is especially important during the period when the flower buds start to form. If you do not water enough, flower buds will be smaller, and fewer in number.
Feeding
Primarily, globe artichokes should get the nutrients they need from the soil as long as this is reasonably fertile, and from the organic mulch you apply around your plants.
You should apply a mulch of homemade compost, well-rotted manure or other organic matter around your plants upon planting and replenish this every spring.
It can also be a good idea to feed your globe artichokes in the spring with a potassium rich organic fertiliser, as this can improve flower bud yields.
Removing flowers
Though those impatient to taste their own homegrown artichokes may be disappointed by this, it is best to remove any flower stalks that begin to form in the first year after planting.
Though of course this means that you will not be able to harvest that first year, it will usually lead to better harvests over subsequent years, since it gives the plants a chance to focus on strong root establishment so they are healthier plants.
You can begin harvesting the buds from the second summer after sowing/ planting.
Pruning
Once the harvesting period comes to an end, you can cut all the old flower stalks down to the base. You can then prune off all the old foliage at the base in the late autumn.
This foliage should not be taken away but rather laid over the crown of the plant in order to protect it from frost. It is also a good idea to add a layer of compost, straw, dried leaves or leaf mould over this for additional insulation.
Plants are more vulnerable in their first winter after planting, and become hardier once they are fully established. But even fully established plants will need protection, especially in colder regions and when not growing in a polytunnel.
Globe artichoke versus Jerusalem artichoke
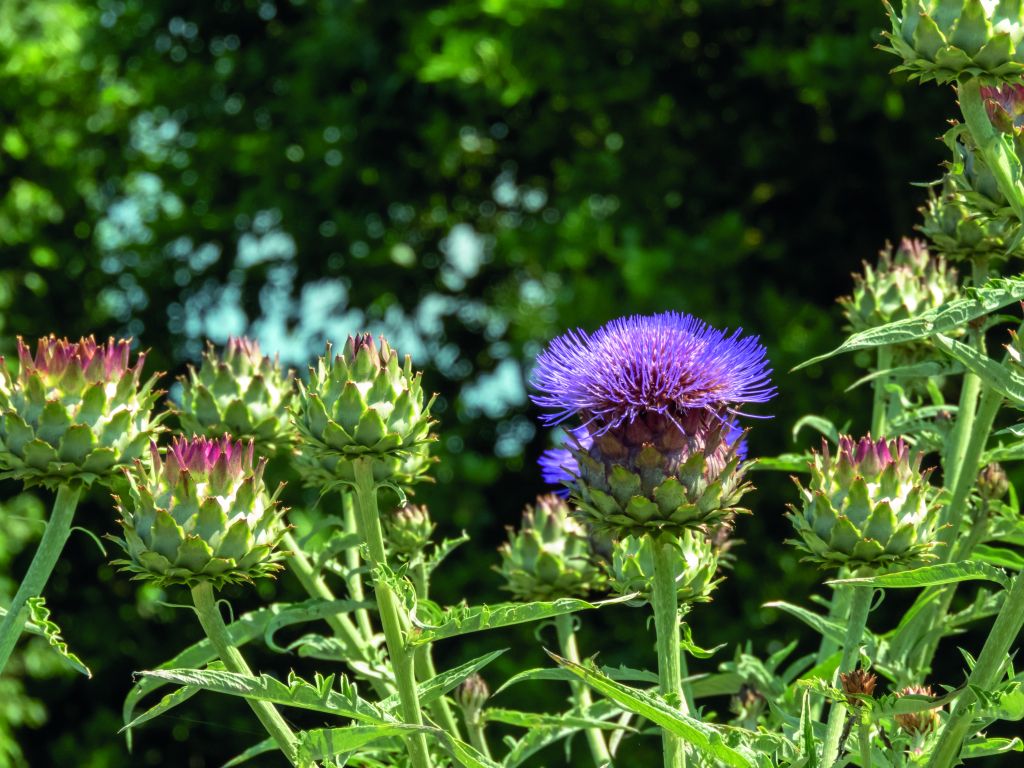
The globe artichoke is a variety of thistle, a large, architectural perennial that looks great when grown in flower beds and borders. The edible parts are the fleshy lower portions of the bracts of the unopened flower buds and their base, known as the ‘heart’. Once the flower buds open, the flowers look beautiful and very attractive, but are inedible. The plants have very ornamental, large, silvery-green/glaucous-green leaves.
The Jerusalem artichoke is a species of sunflower, grown for its edible tubers. These are a real winter treat, although an acquired taste for some. You can roast them, make them into chips and fry them, and they make a hearty soup. They are easy to grow, even in poor soils. In the summer, they produce lots of reasonably small sunflower-like flowers. As the plants grow tall (up to 3m/10ft), they can be used as a living screen.

